
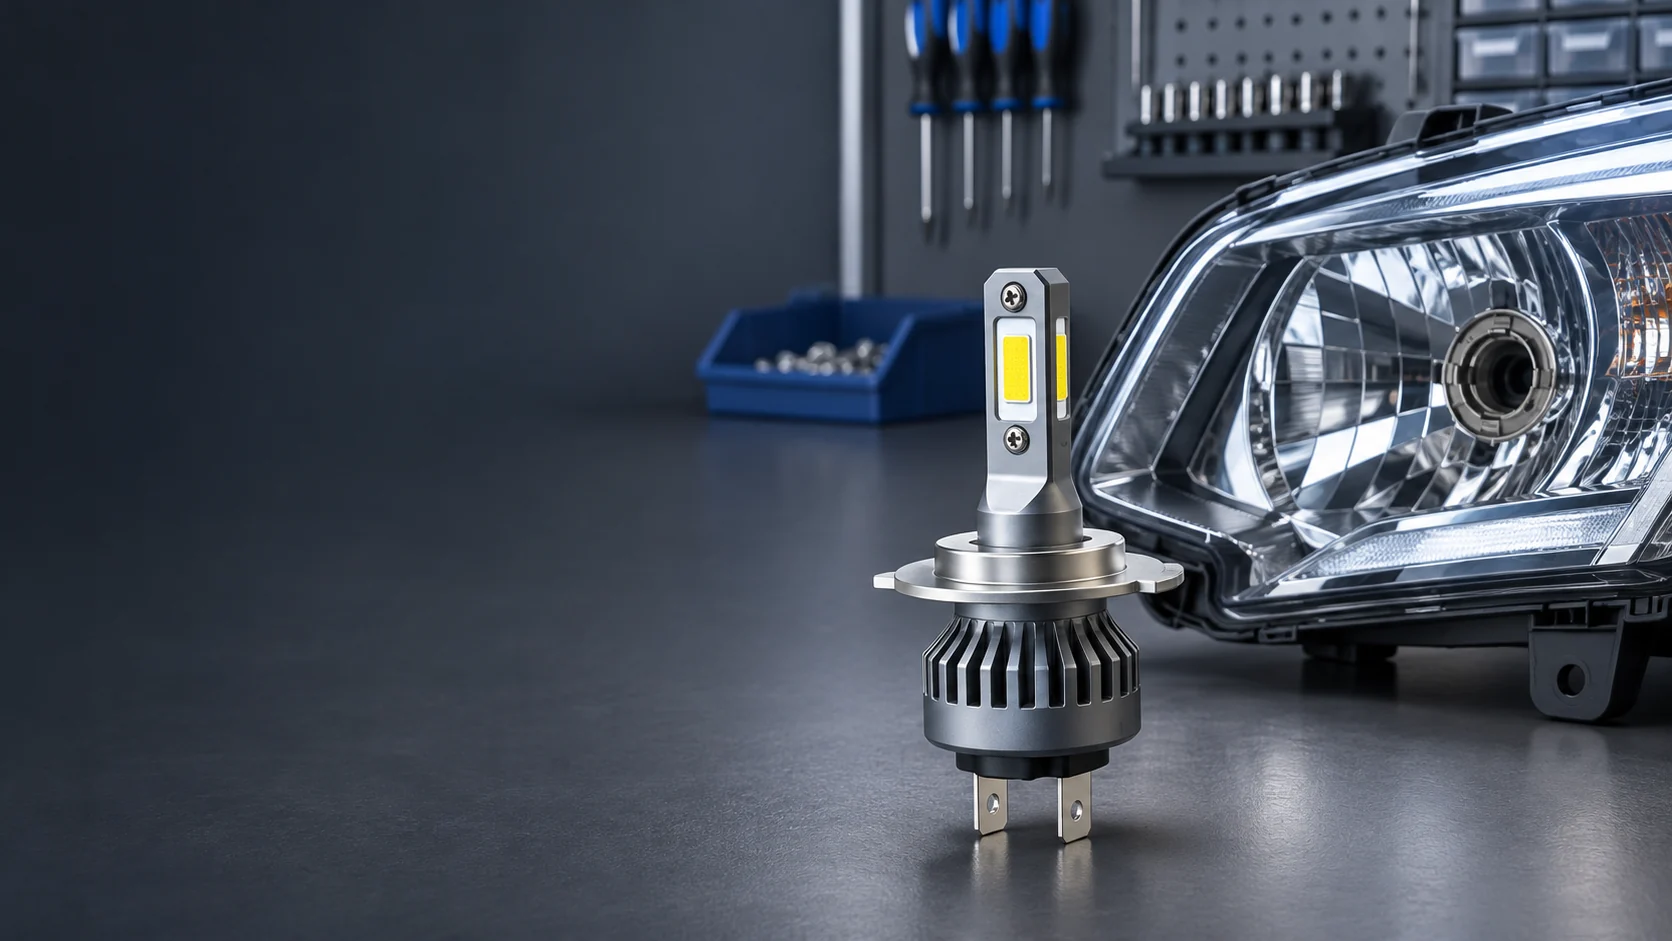
TECHNICAL GUIDES · LED HEADLIGHTS
H7 LED Headlight Bulb Troubleshooting: Fitment, Flicker, Beam & OEM Validation
Fitment, Flicker, Beam & OEM Validation
November 5, 2026 · 15 min read
Introduction
An H7 LED headlight bulb may illuminate on a bench yet fail in a customer vehicle because the retaining carrier does not lock, the rear cover cannot close, the lamp-control circuit reports a fault, or the installed beam is unsuitable. For distributors, each incident can become a costly return unless the failure is traced to a defined bulb, headlamp and vehicle configuration.
This H7 LED headlight troubleshooting guide begins with observable symptoms rather than universal compatibility claims. It shows how to build an application-specific evidence record, isolate mechanical and electrical issues, verify beam and warm-state behavior, and turn failure findings into a repeatable OEM sample-approval process.
H7 refers to a bulb category, not a single interchangeable vehicle installation. A matching base does not prove the vehicle holder, adapter, rear housing, electrical supply, optical system or legal-market scope will accept a particular LED retrofit. For a foundational comparison of H7, H11 and 9005 bases and optical positioning, see NVEL’s H7 vs H11 vs 9005 LED bulb fitment guide. This article concentrates instead on diagnosis, evidence and return prevention.
Table of Contents
H7 LED Headlight Bulb Troubleshooting
QUICK GUIDE
Why H7 LED Headlight Bulb Upgrades Fail
A failed H7 LED upgrade is not one fault category. Treat “does not fit,” “does not light,” “flickers,” “shows a dashboard warning,” “has a poor beam,” and “dims after warm-up” as separate reports. Several may occur together, but the first visible symptom rarely proves the root cause. Begin by identifying the exact installed combination and by deciding what evidence is missing.
Capture the symptom before replacing parts
Record vehicle make, model, year and trim; original headlamp type and relevant markings; bulb function; exact LED SKU and driver revision; adapter and rear-cap part numbers; and the lighting-control state when the issue appears. Note whether the engine is running, whether the fault affects one side or both, and how long the bulbs have operated. Photograph the installation before disturbing it, provided it is safe to do so.
Use a known-good reference without modifying the vehicle
Where supported by the vehicle service procedure, compare the original specified bulb and the same headlamp function under matching conditions. A stable original configuration helps narrow the investigation; it does not automatically prove the LED component is defective. Stop and seek qualified service support for damaged wiring, abnormal heating, smoke, exposed conductors or repeated protection faults. Do not defeat the lighting controller to make a symptom disappear.
Symptom-to-evidence triage matrix
| Reported symptom | Plausible causes to investigate | Minimum evidence before deciding |
|---|---|---|
| Will not lock or remains loose | Wrong retaining adapter, carrier orientation, collar engagement or assembly tolerance | Holder/adapter IDs, seated photographs, retention check and service reference |
| Dust cap will not close | Installed depth, fan envelope, cable exit or adapter stack-up | Measured rear envelope, clearance diagram and cap condition |
| Off-state flash or visible flicker | Diagnostic pulses, PWM response, driver startup or connection defect | Operating state, measured input behavior and exact driver revision |
| Bulb-out warning | Controller load sensing, interrupted connection or genuine circuit fault | Fault-code record, supply/connector check and known-good baseline |
| Glare, dark areas or poor reach | Source geometry, seating, headlamp mismatch or aim | Named headlamp, orientation, aim and reproducible beam evidence |
| Output falls after warm-up | Thermal protection, obstructed airflow, supply change or driver fault | Elapsed time, input data, temperatures and stabilized output record |
Do not prescribe a new decoder, larger fan or rotatable collar from the symptom alone. A good troubleshooting record tests the most probable cause first, changes one variable at a time and distinguishes a verified repair from a temporary symptom reset.
H7 Mounting and Accessory Verification
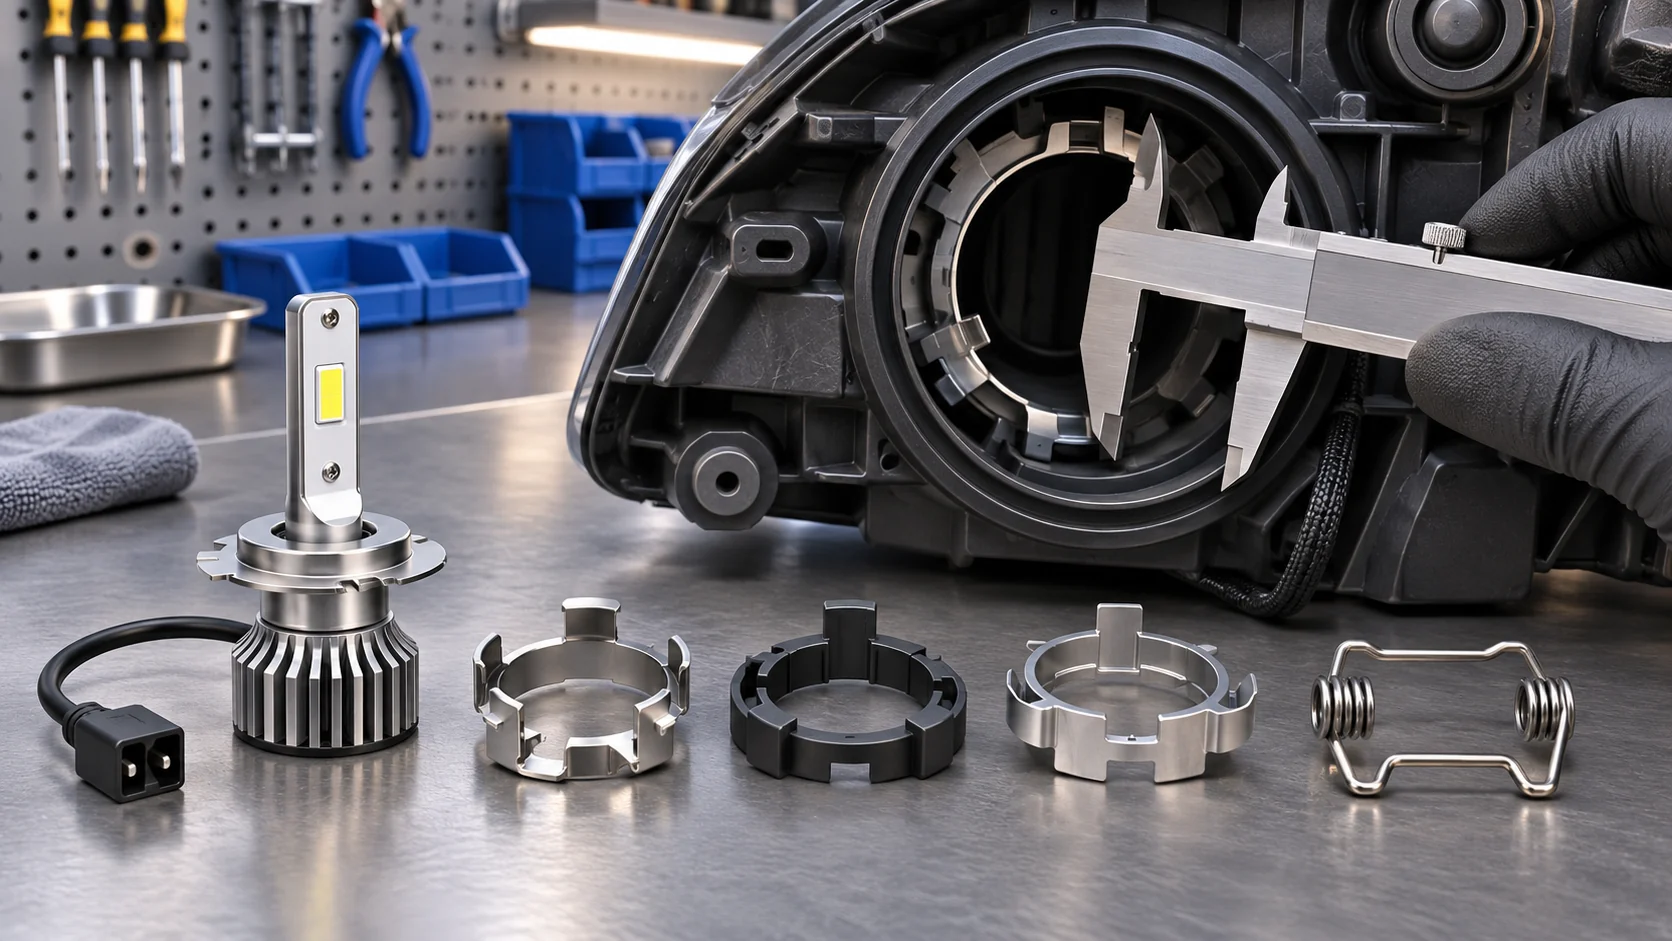
The H7 reference halogen category uses a PX26d base, but an H7 car LED headlight installation also depends on the vehicle-side carrier, locking spring or separate adapter. The existing H7 vs H11 vs 9005 LED bulb fitment guide describes these basic designs. Here the practical question is whether the specific approved accessory combination can be installed, serviced and reproduced without damaging the headlamp.
Build a configuration record, not a generic compatibility label
An accessory should be recorded by its actual part number and revision. “H7 adapter included” is not a complete fitment statement. A distributor needs the vehicle and headlamp configuration, bulb series, adapter or retainer, any revised rear cap, external driver location and installation instructions on one controlled record. Where a manufacturer’s approved vehicle listing requires particular accessories, omitting them may invalidate that product’s limited approval.
Check locking, service space and cooling clearance
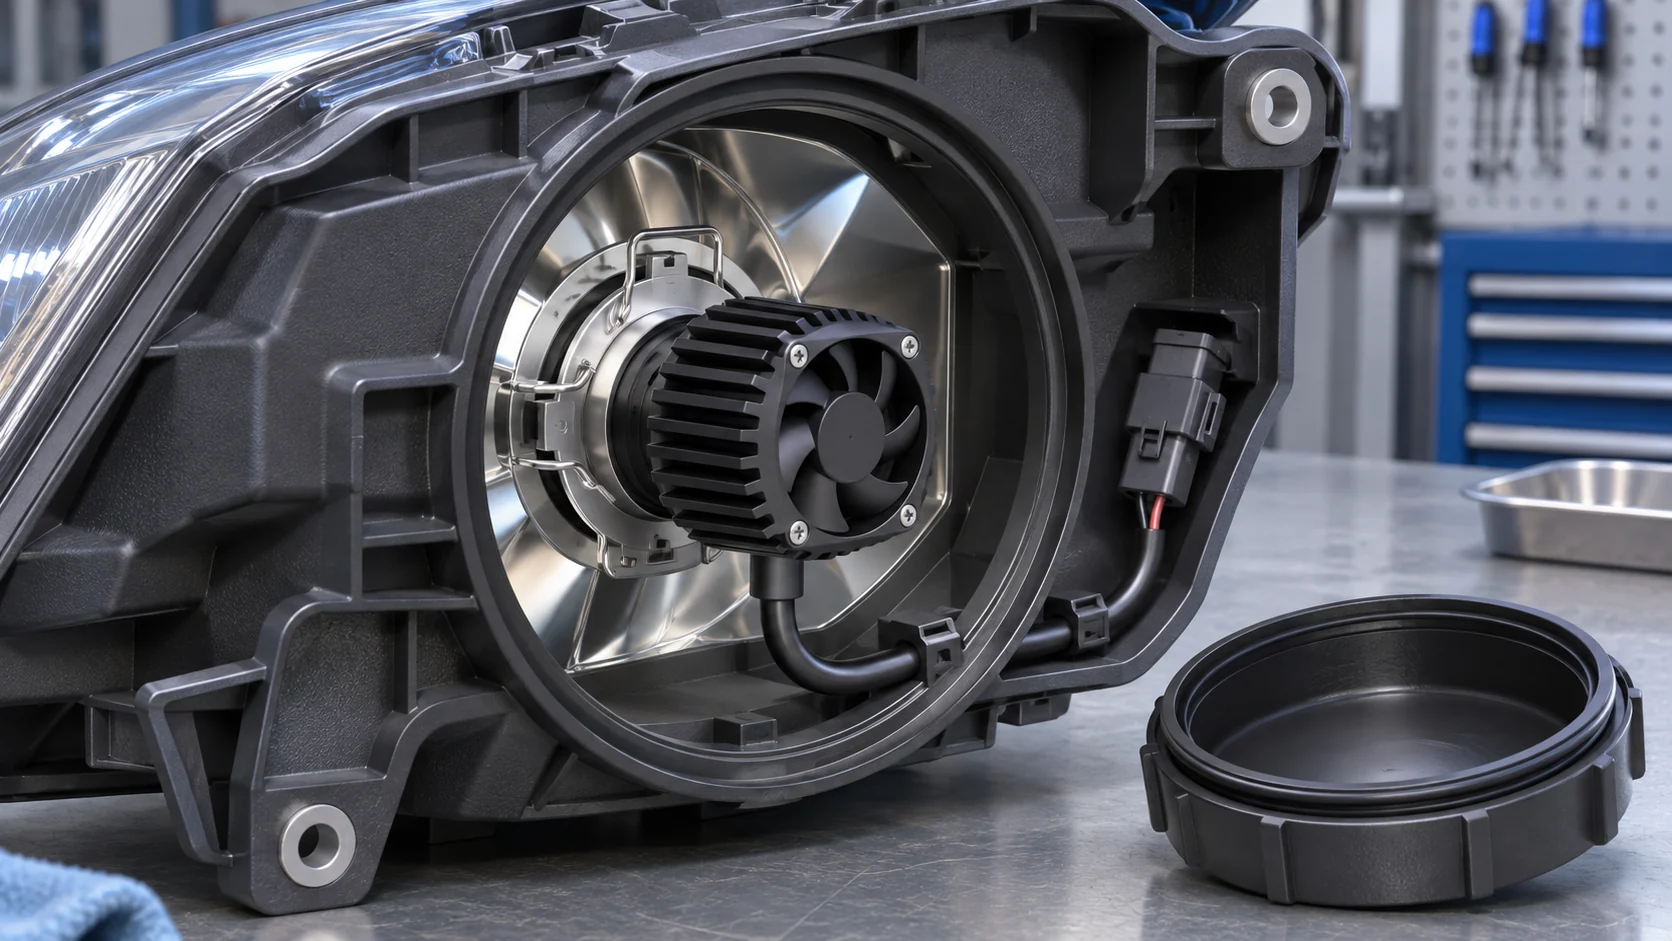
Confirm that the bulb flange seats on its intended datum, the spring or carrier holds it securely, and no wiring bears the retention load. Measure installed depth with the actual driver, cable bend and heatsink or fan arrangement; avoid assuming a nominal 1:1-size claim establishes rear-cover clearance. Refit seals and caps only as instructed, and verify adequate cooling space before conducting sustained operation. Never cut original retaining tabs or force a cover shut to claim fitment.
H7 accessory configuration matrix
| Component / interface | What to record | Failure risk if omitted |
|---|---|---|
| Bulb and base | SKU, base/collar variant, interface drawing | Cannot confirm seating or interchangeability |
| Holder or adapter ring | Vehicle/headlamp-specific part ID and locking method | Loose bulb, rotation or incomplete engagement |
| Driver / compatibility module | Integrated or external, revision, function and location | Unknown electrical behavior or extra installation heat |
| Dust cap and cooling envelope | Cap type, installed depth, fan intake, cable route | Interference, seal compromise or thermal derating |
| Approved application scope | Vehicle, model year, headlamp reference, market if applicable | Unsubstantiated fitment or road-use claim |
OSRAM’s automotive LED guidance provides a useful example of product-specific adapters, caps and CANbus modules listed by vehicle; those combinations apply to the named OSRAM systems and do not authorize claims for NVEL or other brands. See OSRAM automotive LED FAQ.
Electrical Troubleshooting: Flicker, Warnings and Driver Faults
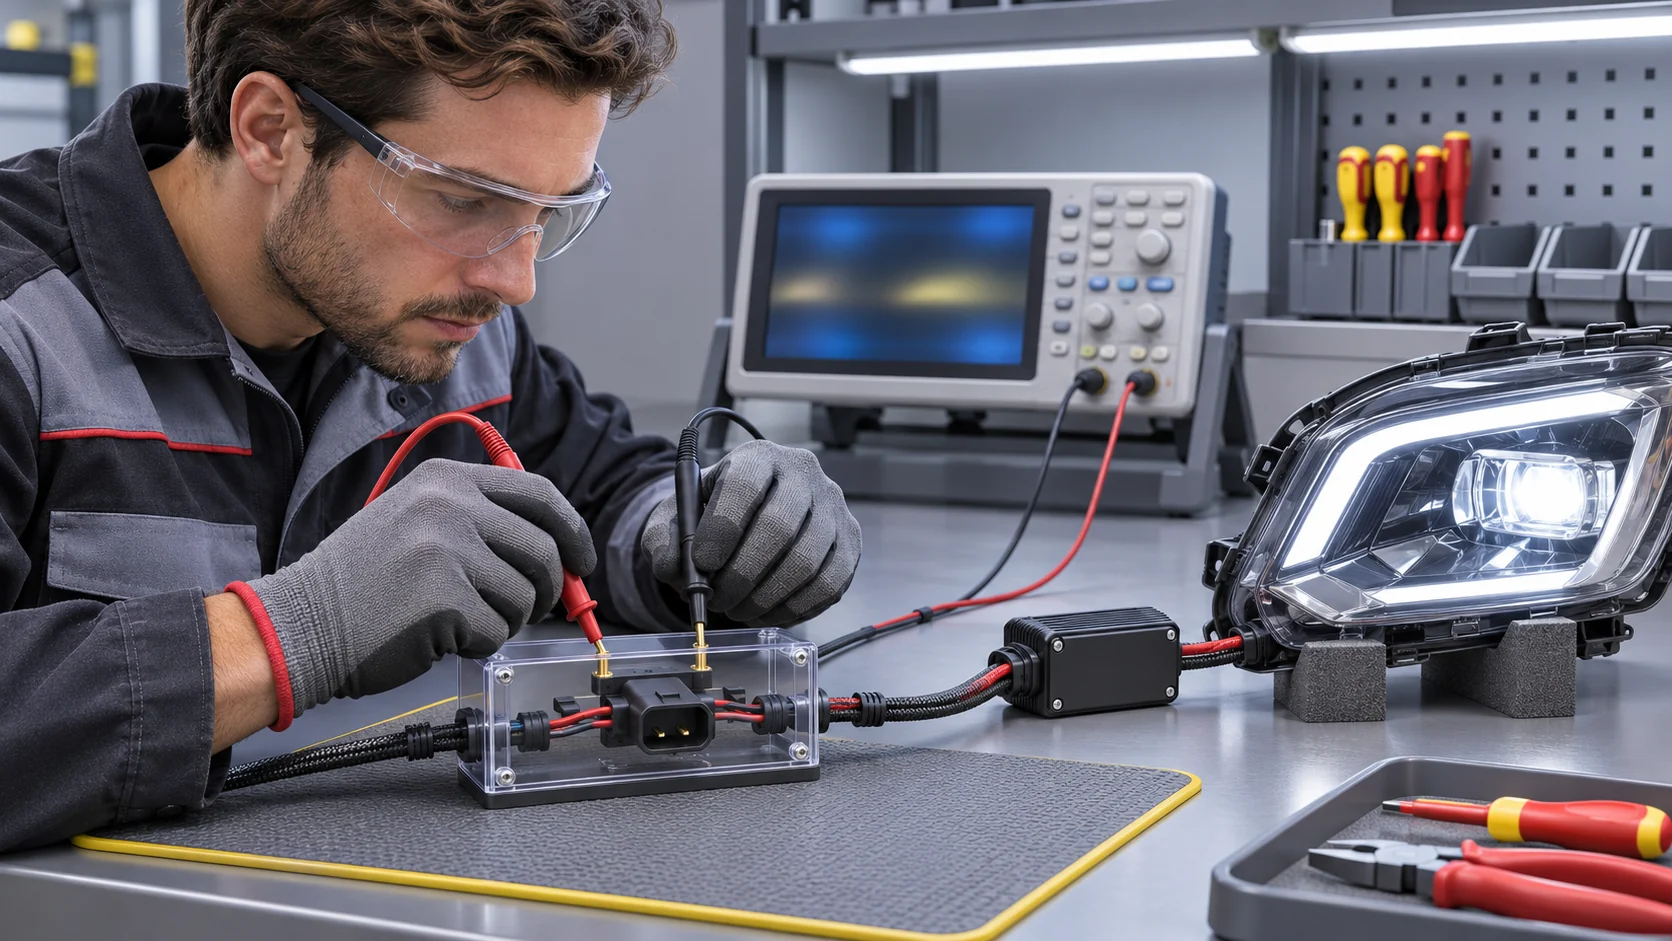
A car H7 LED headlight may function on a steady laboratory power supply yet behave differently when controlled by a vehicle. Lamp-out diagnostics, short off-state checks, pulse-width-modulated supply, startup transients and poor connectors can create similar complaints. “CANBus ready” is a marketing label, not a universal diagnosis or a substitute for electrical validation.
Separate off-state flash, on-state flicker and warning messages
If a short flash occurs while the headlamp is commanded off, document vehicle diagnostic-check timing before assuming a defective LED. If the lamp flickers while commanded on, examine voltage stability, grounds, connector integrity, pulsed supply and driver response. If a dashboard warning appears, check genuine circuit faults as well as load-monitoring behavior. Do not conclude that the H7 LED bulb is faulty solely because the original halogen works.
Investigate input behavior under defined conditions
Use qualified technicians and suitable instrumentation to record voltage at the bulb or driver input during the actual complaint, including startup and sustained operation where appropriate. Compare the affected side, a known-good baseline and the supplier’s supported operating conditions. Diagnostic pulses and PWM are not interchangeable terms, and camera banding alone does not measure electrical flicker. For full circuit principles, use NVEL’s CANBus LED headlight compatibility guide instead of duplicating a general CAN architecture tutorial.
Test accessories carefully, one change at a time
An external module may add electrical load, filter a particular input waveform or provide other functions. A resistor alone does not “decode CAN.” Added loads dissipate heat and may conceal a genuine fault if misused. Change only one verified part or configuration at a time, repeat the triggering vehicle conditions, and record whether all specified lighting functions still operate safely. Never increase fuse ratings or disable safety diagnostics as a universal workaround.
| Failure state | Controlled comparison | Decision / escalation |
|---|---|---|
| Brief off-state flash | Ignition/lighting off-state, original bulb baseline, input waveform | Confirm whether a product-specific approved solution exists |
| Persistent on-state flicker | Input voltage, connector/ground, driver revision and PWM condition | Escalate electrical mismatch or component fault with measurement record |
| Dashboard warning | DTC/cluster message, original bulb, LED current behavior | Investigate genuine fault before evaluating load-management accessory |
| One-sided intermittent outage | Swap only where service-safe and approved; inspect connectors | Determine circuit-side vs component-side behavior |
| Radio disturbance | Repeat receiver test with light on/off; check routing and product EMC evidence | Treat EMC separately from dashboard compatibility |
A correction is not accepted merely because a warning disappears once. Reproduce the original test condition after repair, verify the complete lighting function, inspect added heat sources and preserve the resulting evidence for future customer support.
Beam, Thermal and Road-Use Validation
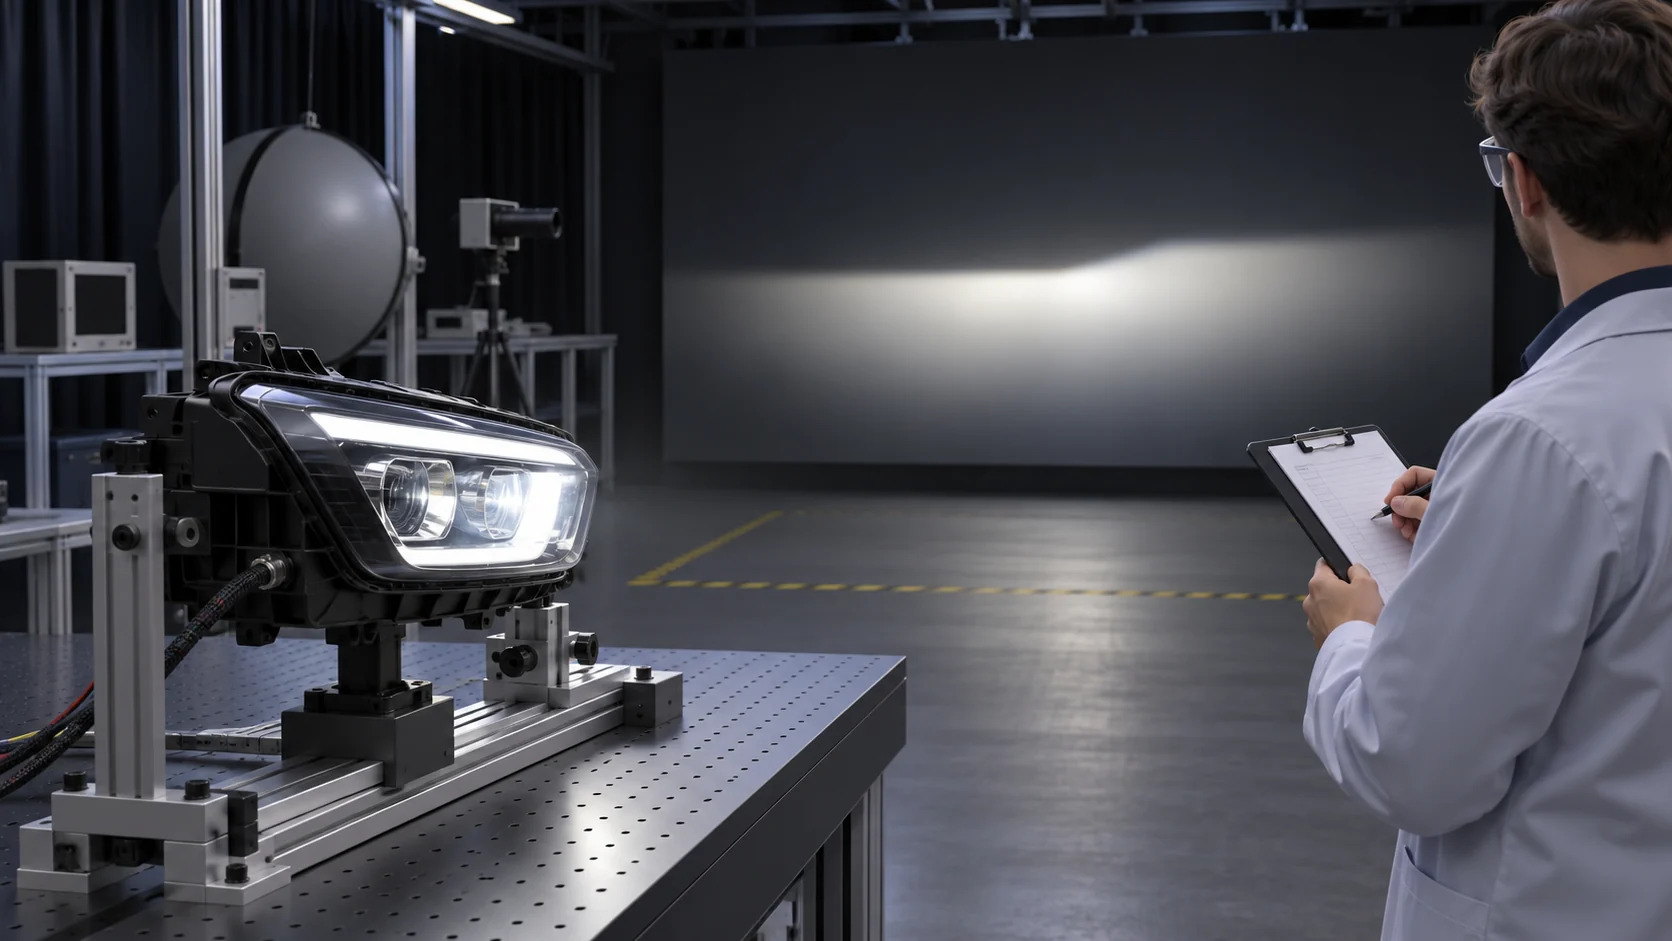
Mechanical and electrical success are necessary but insufficient. The full LED source plus headlamp must be evaluated as a system. A seated bulb and stable driver can still deliver an unacceptable beam, while a product that produces a useful beam in one assembly may not do so in another. NVEL’s LED headlight beam-pattern guide explains the general optical mechanisms; this H7 guide focuses on the acceptance evidence and escalation gates.
Validate the installed beam, not a bare-bulb marketing claim
Document the exact headlamp assembly, bulb orientation, aiming condition, supply input and test method. Evaluate the illumination distribution and any applicable cutoff, glare and photometric test points for that application. A wall image can support installation triage, but it does not replace required formal testing or prove that a lamp is road legal. Where the source and reflector are mismatched, rotating the bulb or increasing lumens cannot guarantee a satisfactory result.
Repeat after warm-up and within the actual enclosure
Measure operating behavior after thermal stabilization with the rear cover and cooling conditions consistent with the intended installation. Record test ambient, duration, voltage, input power and relevant temperatures. Fans and heatsinks need free space according to the product design. A 30-second bench demonstration does not establish sustained light output or reliability inside a closed headlamp.
Keep safety, application and approval statements separate
The United States NHTSA has distinguished compliant integral-beam LED headlamps from LED replacement light sources installed in replaceable-bulb headlamps under FMVSS No. 108. Its published interpretation should not be condensed into “any H7 LED retrofit is DOT approved.” See NHTSA interpretation of LED replacement headlight sources. In some European markets, particular H7 retrofit products are approved only for defined countries, vehicles, headlamps, light functions and required accessories; see OSRAM NIGHT BREAKER H7-LED GEN2. An approval for that brand and combination is not transferable to NVEL products.
Treat road-use eligibility as a separate release gate from fit, operation and beam observations. The distributor should retain applicable, current, product-specific documentation for the destination market. If evidence is unavailable, do not advertise the replacement as street legal.
OEM H7 LED Headlight Bulb Acceptance and Return Prevention
Repeated H7 LED headlight bulb returns are often a data-quality problem as well as a product-quality problem. A return marked “does not fit” cannot guide engineering unless the application, holder, accessory and failure mode are recorded. Controlled samples and revision tracking enable distributors to improve fitment information, correct packaging and avoid repeating the same unsuitable configuration in new purchase orders.
Seven-point sample approval checklist
- Lock the application definition: vehicle model/year/trim, headlamp part or variant, lighting function and destination market.
- Lock the product configuration: exact H7 bulb SKU, driver/hardware revision, adapter ring, dust cap and packaging/BOM.
- Approve retention and service: seating, holder engagement, wire routing, cover closure and cooling clearances.
- Validate electrical operation: startup, any off-state check, PWM-related states, warning behavior and relevant faults.
- Assess complete-headlamp optics: controlled installation, repeatable aiming, beam evidence and market-relevant tests.
- Confirm sustained behavior and safety: thermal stabilization, component clearances, protection and documented restrictions.
- Sign off and preserve a golden sample: batch traceability, test records, fitment exclusions, RMA decision tree and change-control triggers.
Release gates and evidence owners
| Release gate | Required record | Responsible sign-off |
|---|---|---|
| Application and configuration | Vehicle/headlamp data, SKU/BOM, approved accessories | Product engineering + sales operations |
| Mechanical and electrical fit | Installation photos, input/warning logs, accessory verification | Test engineer / application technician |
| Optical and thermal performance | Named test conditions, results, limitations, stabilization log | Quality / laboratory owner |
| Market and claim scope | Applicable current product/market approval evidence | Compliance reviewer |
| Production repeatability | Golden sample, lot and revision traceability, requalification rules | Supplier quality / purchasing |
Close the loop from field return to product revision
Classify each RMA by observable symptom and verified root cause: unsuitable application, incorrect accessory, installation error, electrical mismatch, optical mismatch, manufacturing defect, transit damage or undetermined. Photograph and retain failed samples when feasible. Record corrective action, whether it alters the SKU or adapter BOM, and which vehicle-fitment entries must be retested. Separate verified incompatibility from a true manufacturing defect so customer service does not create misleading universal failure claims.
NVEL’s O1 Mini LED Headlight Bulb Kit publicly lists an H7 socket option alongside other socket types. That listing does not by itself establish compatibility with every H7 vehicle or approval for all markets. Buyers can use the product page as a starting point and request sample-level technical evidence for the specific H7 configuration.
Frequently Asked Questions
Why does an H7 LED headlight bulb fail to lock into the housing?
The headlamp may use a proprietary carrier, spring clip or adapter that is not compatible with the particular LED collar. Identify the vehicle/headlamp and correct accessory part number; do not bend or cut retainers to force installation.
Can an H7 LED headlight work without a CANbus decoder?
Possibly, depending on the LED driver and vehicle lighting-monitoring behavior. Some applications need no external module; others require a documented accessory or are unsuitable. Test the exact vehicle and bulb revision rather than relying on a universal CANBus label.
What causes an H7 LED bulb to flicker after installation?
Possible causes include pulsed supply, startup or diagnostic behavior, unstable voltage, loose connectors or driver incompatibility. The moment when flicker occurs and the measured input conditions are needed to distinguish among them.
Will a dust-cap extension fix all H7 LED fitment problems?
No. A cap can affect packaging space or sealing for certain approved systems but cannot correct an incompatible holder, poor beam, wiring fault or insufficient airflow. Confirm the product-specific installation guidance and total installed envelope.
Does an H7 LED bulb that fits and produces a cutoff become road legal?
No. Physical fit and an observed beam pattern do not establish a destination market approval. Road-use eligibility depends on the exact product and the applicable vehicle, headlamp, function, jurisdiction and supporting documentation.
What should a distributor send NVEL when reporting H7 returns?
Provide the exact bulb SKU and revision, vehicle/headlamp identification, adapter and cap IDs, original symptom, operating mode, photographs, measured electrical data when available and any reproducible beam or thermal findings. This enables targeted root-cause analysis instead of an unsupported broad defect claim.
Conclusion: Diagnose the Complete H7 Installation
A reliable H7 LED headlight bulb program is built on a repeatable diagnosis, not the assumption that a matching base guarantees success. Troubleshoot retention, electrical response, beam performance and thermal behavior as separate gates, then confirm any road-use claims against current product- and market-specific evidence.
For B2B buyers, the most useful outcome is a controlled configuration and traceable sample approval. Start with NVEL’s Automotive LED Headlights range, discuss an exact H7 SKU and target applications, and use Contact NVEL to request sample documentation and an OEM/ODM quotation. No universal fitment or road-use approval is implied.
Discuss Your H7 LED Headlight Bulb Configuration
Discuss an exact H7 SKU and target applications, and request sample documentation and an OEM/ODM quotation.
Related Technical Guides
Technical Guides
CANBus LED Headlight Compatibility Guide
Technical Guides