
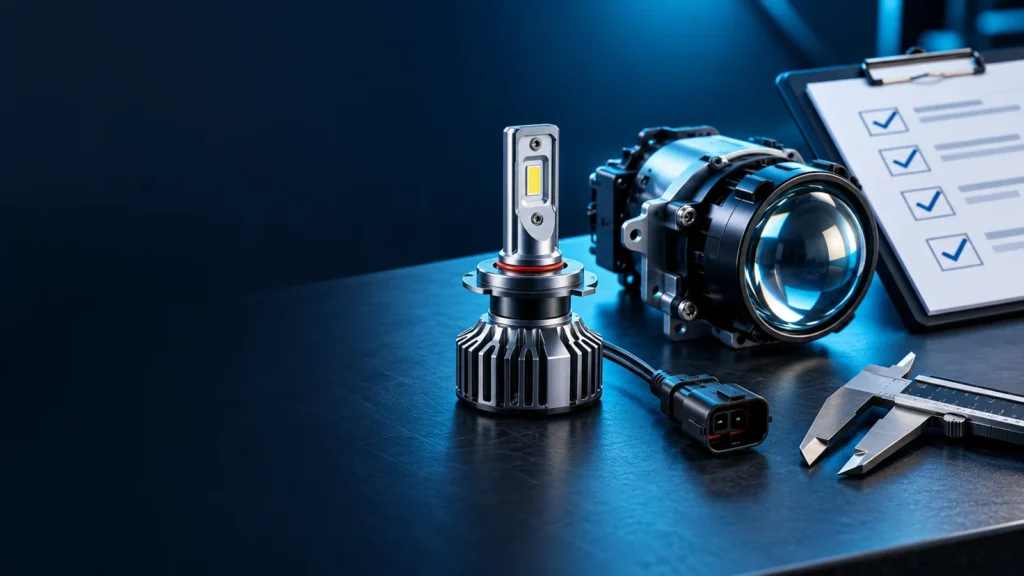
TECHNICAL GUIDES · B2B SAMPLE EVALUATION
Automotive LED Lighting Sample Testing Checklist for Distributors and Brands
A practical five-stage evaluation process before approving automotive LED lighting for volume purchasing.
Technical Guides · 12 min read
Introduction
A bright sample on a workbench is not enough to approve an automotive lighting purchase. A bulb, projector module or auxiliary lamp may behave differently in the intended housing, on a vehicle electrical system or after it reaches operating temperature. Buyers need repeatable observations and documented acceptance criteria.
This guide turns the sample evaluation process into five practical stages. It focuses on what to check, what evidence to retain and how to decide whether a sample passes, needs correction or requires further testing. Define the requirements with the supplier before testing, and use qualified support for work outside your team’s capability.
Five Stages of Automotive LED Sample Evaluation
QUICK GUIDE
Check dimensions, mounting, connectors and cooling clearance against the agreed drawing and actual housing.
Record supply voltage, current, input power and representative vehicle behavior under stated conditions.
Compare initial and stabilized output, ambient conditions and accessible surface temperatures.
Compare the complete optical assembly with fixed aim, distance, exposure and reference conditions.
Review configuration-specific ingress, vibration, cycling and corrosion evidence against agreed requirements.
Why Sample Testing Matters Before Bulk Orders
A sample that lights up on a bench has passed only a basic functional check. Distributors, aftermarket brands, importers, wholesalers, OEM/ODM purchasing teams and quality engineers need evidence that the product fits its intended application and performs consistently under agreed conditions.
Start this automotive LED lighting sample testing checklist with a written evaluation plan. Identify the target vehicle or lamp assembly, supply system, market, duty cycle and installation environment. Agree on methods, acceptance limits and required reports before testing, rather than judging results against changing expectations.
Test multiple identified units to reveal unit-to-unit differences, but choose the quantity according to risk, development stage and the sampling plan. A small engineering sample set, including five or ten units, does not establish statistical batch consistency. Sample approval reduces uncertainty; production controls and incoming inspection remain necessary.
Stage 1: Physical Inspection and Dimensional Fitment
Assign each sample a unique ID before unpacking. Record supplier, model, revision, batch, receipt date and supplied accessories. Photograph packaging, labels and any transport damage. Compare model markings, connector pinout and kit contents with the approved specification.
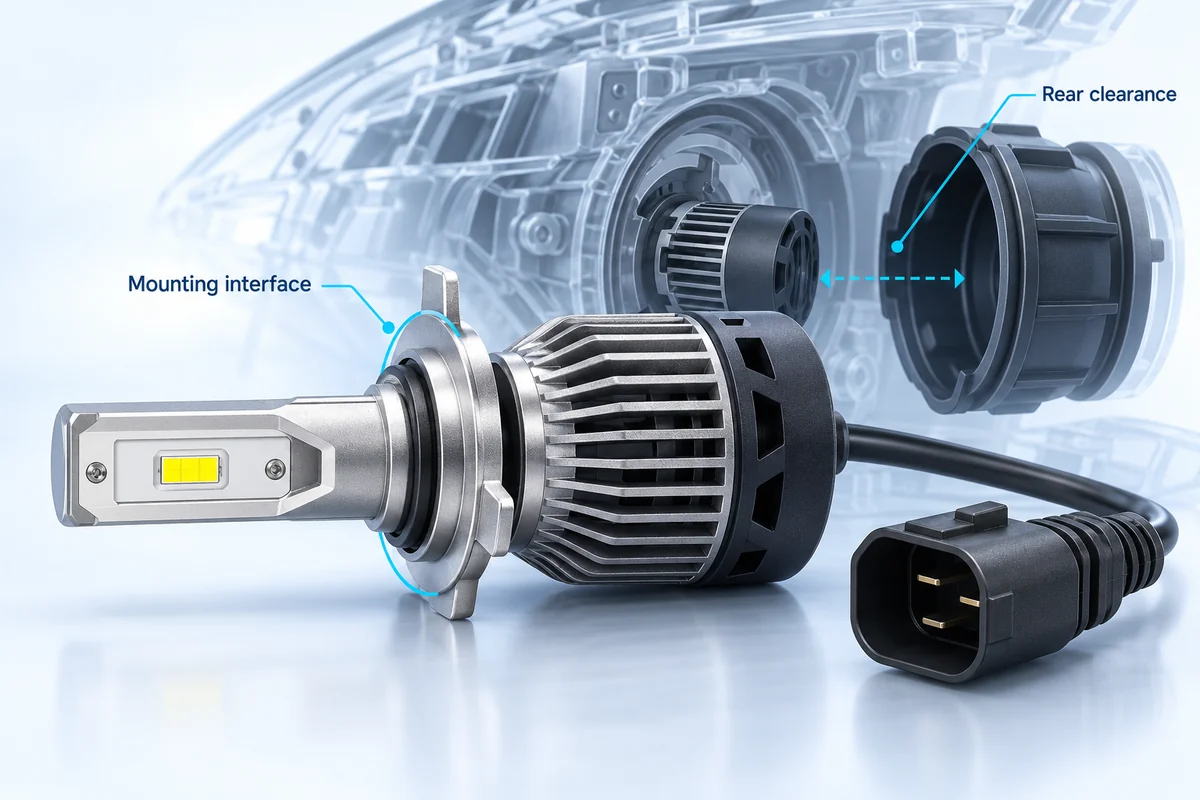
With power disconnected, measure the mounting interface, maximum body dimensions, rear cooling envelope and cable exit. Check socket engagement, locking collar security, brackets and fasteners. Inspect housing finish, heatsink damage, exposed conductors, connector locks, strain relief and seals. Verify wire and connector ratings from documentation; do not assume a universal temperature grade or IP68 connector requirement.
For H4, H7, H11, 9005 and 9006 replacement bulbs, verify the actual lamp structure, vehicle model, year and market version. Check adapters, dust-cover closure, cable clearance and aiming movement. Similar LED emitter and halogen filament positions do not guarantee the correct beam or road legality.
Record measured dimensions against the drawing tolerances and document trial fitment with photographs. Do not force an incompatible mount or modify the housing simply to make a sample pass. Mark uncertain applications as Retest until installation requirements are resolved.
Stage 2: Electrical Performance and Compatibility
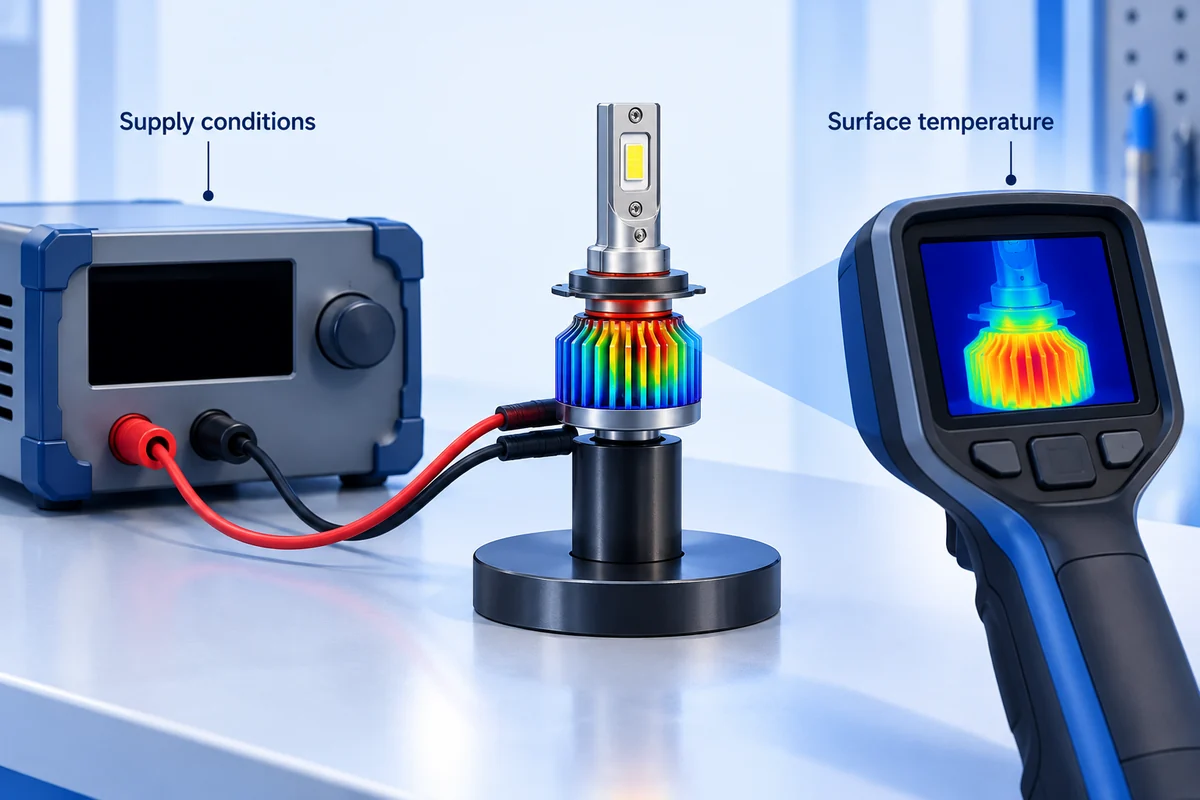
Confirm the declared operating voltage and connector polarity before connection. Use a suitable protected supply and follow the supplier’s normal operating instructions. Record voltage at the product terminals, current and calculated input power, together with instrument identification and the operating mode.
Observe startup, repeated normal switching, visible flickering and driver stability within the declared operating range. Compare initial and stabilized measurements with the agreed specification. Log the exact symptom, supply conditions and sample ID rather than treating every fluctuation as a defective driver.
Check representative vehicles separately for dashboard warnings, PWM-related flicker, dimming behavior, low/high-beam switching and start-stop operation where relevant. “CANBus compatible” is not a universal fitment guarantee. No fixed current or wattage threshold predicts every vehicle’s bulb-monitoring response.
Preliminary EMI screening can compare reception or observed interference with the light on and off under repeatable conditions. Record equipment, cable arrangement and observations. A quiet FM radio does not establish CISPR 25 compliance. Formal EMC assessment requires the applicable standard’s methods and equipment. Leave reverse-polarity, surge and overvoltage testing to qualified personnel under an approved test plan.
Stage 3: Thermal Stability and Luminous Output
Compare initial output with stabilized output using the same sample, supply voltage, ambient temperature, mounting orientation and enclosure. Where total luminous flux is required, obtain appropriate photometric measurements; a lux meter at one point does not measure total lumens.
Record output and accessible surface temperatures over time until the agreed equilibrium criterion is met. Stabilization depends on product design and test conditions. Sixty minutes, an 80–85% retention figure and a common junction-temperature ceiling are not universal industry acceptance standards.
Check fan startup, noise, airflow obstruction and passive heatsink clearance under representative installation conditions. Compare samples at the same ambient conditions, and request additional supplier or laboratory evaluation when the intended environment exceeds the buyer’s testing capability.
A thermal camera measures external surface temperature, which is not LED junction temperature. Record the measurement location and relevant camera settings. Assess results against the product specification and documented engineering limits. Unexpected output decline, cycling or overheating requires investigation and a repeat test after correction.
Stage 4: Beam Pattern and Optical Performance
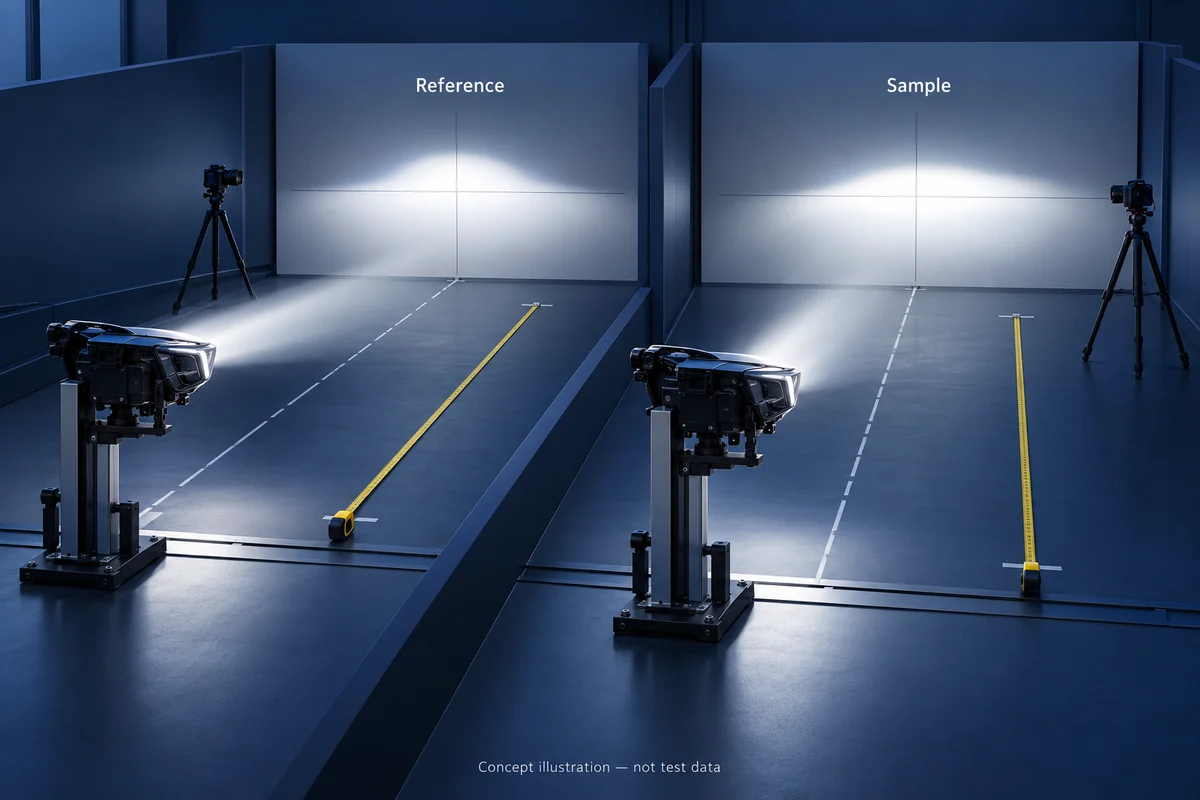
Use the intended optical assembly and a controlled reference setup. Record mounting orientation, aim, test distance, supply voltage, stabilization condition and camera exposure. Compare beam distribution, cutoff where applicable, glare regions, hotspot position and color uniformity with a documented reference product.
Replacement LED bulbs must be assessed in the exact reflector or projector housing. Bi-LED projector modules require separate low-beam and high-beam checks, including switching and traffic-side configuration. Fog lamps need application-specific distribution assessment. Off-road auxiliary lamps should be evaluated for their stated spot, flood or combination pattern and intended use.
A wall comparison is useful for detecting obvious differences, but it is not formal road-use certification. Do not use one photograph, a sharp cutoff or a single peak lux measurement as proof of compliance. Obtain applicable photometric reports and approval evidence for the exact product and market.
Keep comparison images with fixed exposure and aim, and retain measurement maps where available. Define acceptable distribution and color variation before evaluation. If a fitment change alters the optical position, repeat the optical check rather than carrying over approval from the previous installation.
Stage 5: Environmental and Mechanical Durability
Begin with the declared service environment and product claims. Inspect connector seals, gasket seating, housing joints, fasteners and cable support. Request reports addressing ingress protection, temperature cycling, vibration, corrosion resistance and mechanical durability as appropriate to the application.
Check that each report identifies the model or tested configuration, method, conditions and result. IP67 and IP68 claims must be checked against the applicable standard and declared conditions. An ingress rating does not automatically demonstrate resistance to every cleaning method, corrosive environment or installation condition.
Qualified laboratories or suitably equipped suppliers should perform high-risk environmental tests using a risk-assessed plan. Buyers should not immerse powered products, spray running fans or improvise extreme temperature shocks. Agree on test severity, operating state, inspection points and post-test electrical and optical checks.
Log any loosening, corrosion, condensation, seal damage or performance change against the sample ID. Ask for root-cause analysis and corrective action when a requirement fails. Approve the corrected revision only after the relevant tests are repeated and evidence is reviewed.
Sample Testing Comparison Table
Use the following summary to assign ownership and evidence requirements. Acceptance limits come from the agreed product specification, application requirements and applicable standards; the table does not impose universal limits.
| Test Stage | What to Check | Evidence / Acceptance Criteria |
|---|---|---|
| Physical inspection | Mounting, dimensions, wiring, housing and labels | Drawing tolerances, fitment photographs and identified sample records |
| Electrical testing | Voltage, current, power, startup and vehicle behavior | Agreed electrical specification, recorded conditions and compatibility observations |
| Thermal performance | Initial and stabilized output, cooling and ambient effects | Time-series measurements under equivalent conditions; product-specific limits |
| Beam and optics | Distribution, glare, hotspot and color uniformity | Controlled reference comparison; applicable photometric and approval evidence |
| Durability testing | Seals, ingress, cycling, vibration and corrosion | Configuration-specific supplier or laboratory reports and post-test inspection |
Download-Free Sample Evaluation Checklist
Copy the record below for every sample and test category. Keep actual measured results, units and supporting file references. A checkbox alone is insufficient when the decision depends on a measurement or report.
Before starting: confirm the specification revision, target application, sample quantity and test owner. During testing: preserve setup details and record deviations. Before approval: close critical issues, identify any restrictions and obtain written sign-off. No PDF download is required.
- Product model / revision: ____________________
- Supplier: ____________________
- Sample batch / ID: ____________________
- Date received: ____________________
- Test category: ____________________
- Test method / setup / instrument: ____________________
- Acceptance criteria / specification reference: ____________________
- Measured result / units / evidence reference: ____________________
- Decision — Pass / Fail / Retest: ____________________
- Notes / corrective action / owner / due date: ____________________
- Reviewer / approval signature / date: ____________________
How to Record Results and Approve Golden Samples
Use this approval sequence: Sample Received → Initial Inspection → Technical Evaluation → Issue Resolution → Approved Reference Sample → Pilot Production / Bulk Order Decision. Assign a responsible person and dated decision at each gate. Separate technical approval from the commercial decision to order.
Create a controlled evaluation folder linking sample IDs to drawings, specification revisions, measurements, photographs and reports. Mark each result Pass, Fail or Retest. A retest entry should explain what remains unresolved, who owns the action and which test must be repeated. Preserve the original failed result alongside the corrected result.
After approval, label and seal the Golden Sample with model, revision, batch or serial identification, approval date and authorized signatures from buyer and supplier. Keep the associated specification and acceptance record. Agree on storage conditions, retention duration, custody and replacement rules; there is no universal number of retained units.
Use the retained reference for agreed appearance, assembly and performance comparisons during pilot production and incoming inspection. Compare production units under the same controlled methods, supported by the sampling plan. Do not use visual similarity as a substitute for measurements. Changes to LEDs, drivers, optics, cooling, seals or mounting require documented review and relevant revalidation.
Authorize pilot production or a bulk order only when critical requirements are met and open issues have an accepted disposition. A Golden Sample is a controlled reference, not proof that every future unit will conform or that all warranty and recall risks have disappeared.
How NVEL Supports B2B Sample Evaluation
For an NVEL sample enquiry, share the intended application, vehicle or housing details, target market and acceptance requirements. Ask the team to confirm available models, relevant specifications, sample configuration and the evidence available for that particular product. Agree on unresolved verification work before making a purchase decision.
NVEL holds ISO 9001 and IATF 16949 certificates for its quality management system. These credentials do not replace product-specific testing or market approval. Request current certificate documents and confirm their scope and validity where relevant; no equipment, laboratory capability or individual product certification should be assumed from the system credentials.
Review automotive lighting products for potential sample candidates and use the Technical Guides Hub for related background. Keep the final evaluation tied to the exact supplied model and revision.
Frequently Asked Questions
Why should buyers test multiple samples?
Multiple units can reveal differences in assembly, fitment and performance that one unit misses. Select quantities through a risk-based evaluation and sampling plan. A small sample set does not prove statistical consistency across production batches.
What is the difference between cold and warm lumens?
Cold output is measured shortly after startup under stated conditions. Warm output refers to output after stabilization under documented conditions. Compare both using the same setup; stabilization time and acceptable retention are product-specific.
Does preliminary EMI screening prove EMC compliance?
No. It can identify obvious interference for further investigation. FM reception observations are not CISPR 25 certification. Formal assessment needs the applicable standard’s test configuration, instruments and documented results.
What can cause LED flickering?
Possible causes include supply instability, loose connections, vehicle PWM or monitoring signals, incompatible control electronics and driver faults. Record operating conditions and isolate the cause before rejecting the product or adding accessories.
Is active cooling better than passive cooling?
Neither is universally better. Assess stabilized output, installation space, airflow, noise, service conditions and durability for the exact design. There is no common wattage ceiling that applies to all fan-cooled or passive products.
How should CANBus compatibility be verified?
Test normal functions on representative target vehicles and record model year, market version and lighting system. Check warnings, flicker and switching behavior. Bench current readings alone cannot predict every body control module’s response.
How should Golden Samples be retained?
Keep approved, labeled and sealed reference units with signed records and revision details. Agree on custody, storage and retention rules. Compare production through controlled inspection methods, and review or replace references when approved specifications change.
Conclusion
A practical automotive LED lighting sample testing checklist links each observation to a method, acceptance criterion and traceable result. Evaluate fitment, electrical behavior, stabilized output, optics and durability, then resolve issues before approving a controlled reference sample.
Use sample approval as one gate in a wider purchasing process. Pilot production, change control and incoming inspection help maintain the agreed specification as orders scale. Discuss your application and evaluation requirements with NVEL before selecting the next sample set.
Plan Your Next Automotive Lighting Sample Evaluation
Share your application, target market and sample acceptance requirements with NVEL. Confirm the product configuration and evaluation scope before moving to volume purchasing.
Related Technical Guides
Technical Guides B2B Sourcing
OEM Automotive Lighting Development Process: From Concept to Mass Production
Technical Guides LED Headlights
Automotive LED Headlight Beam Pattern Testing Explained: A B2B Engineering Guide
Technical Guides · LED Projector Lens